Craft supply mess usually isn’t caused by having too much stuff, it happens because everything comes in wildly different shapes and sizes.
Tiny beads, bulky yarn, paper sheets, tools, and rolls rarely fit neatly into one standard storage system.
Another problem is project-orphaning, where supplies get sorted by type and slowly lose their connection to the projects they were bought for.
In this article, you’ll learn a size-based, project-linked system that keeps supplies easier to store, find, and actually use.
Let’s jump in!
Why Do Craft Supplies Always End Up in Random Piles?
Craft supplies come in wildly different sizes, from tiny buttons and beads to large canvases, paper rolls, and cutting tools.
A standard box or bin rarely works equally well for everything, so some items naturally end up without a proper home.
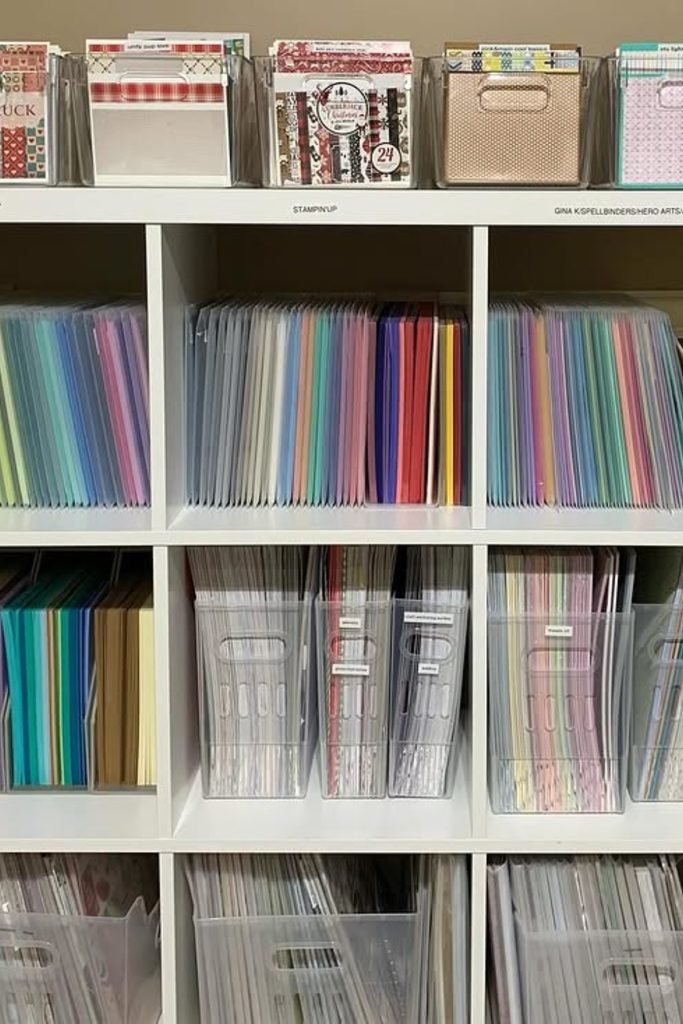
Once one container becomes too small, too deep, or awkward, supplies start getting placed wherever there happens to be space.
That creates random drawers, half-filled baskets, crowded shelves, & piles that make finding one specific item unnecessarily difficult.
The problem is not very simply clutter; it is a storage system that never accounted for the extreme size differences between craft supplies.
The Real Reason You Buy Supplies You Never End Up Using
Project-orphaning happens when supplies bought for one specific craft project lose their connection to that project once you stop working on it.
Instead of staying linked to a future use, leftover materials usually get returned to generic categories like paint, paper, yarn, or fabric.
That sounds organized, but it removes the context that reminded you exactly why you bought those particular supplies in the first place.
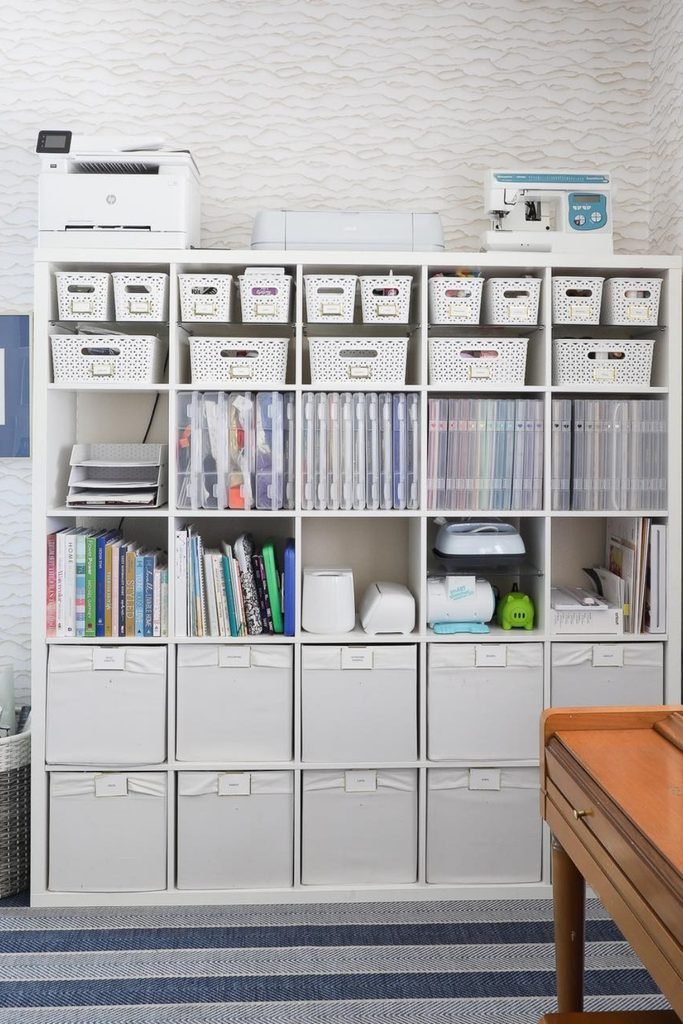
Months later, the materials may still be neatly stored, yet you no longer remember the project or idea they were meant for.
When another similar project comes up, you may assume you do not have what you need & purchase the same supplies again.
Keeping certain materials connected to planned or unfinished projects makes them easier to remember, reuse, & finish before buying unnecessary duplicates.
How Item Size Should Decide Your Storage Method?
Small & large craft supplies need completely different storage logic because they create different problems when forced into the same containers.
Tiny items disappear inside deep bins, while oversized materials get bent, crushed, stacked awkwardly, or pushed into whatever space is available.
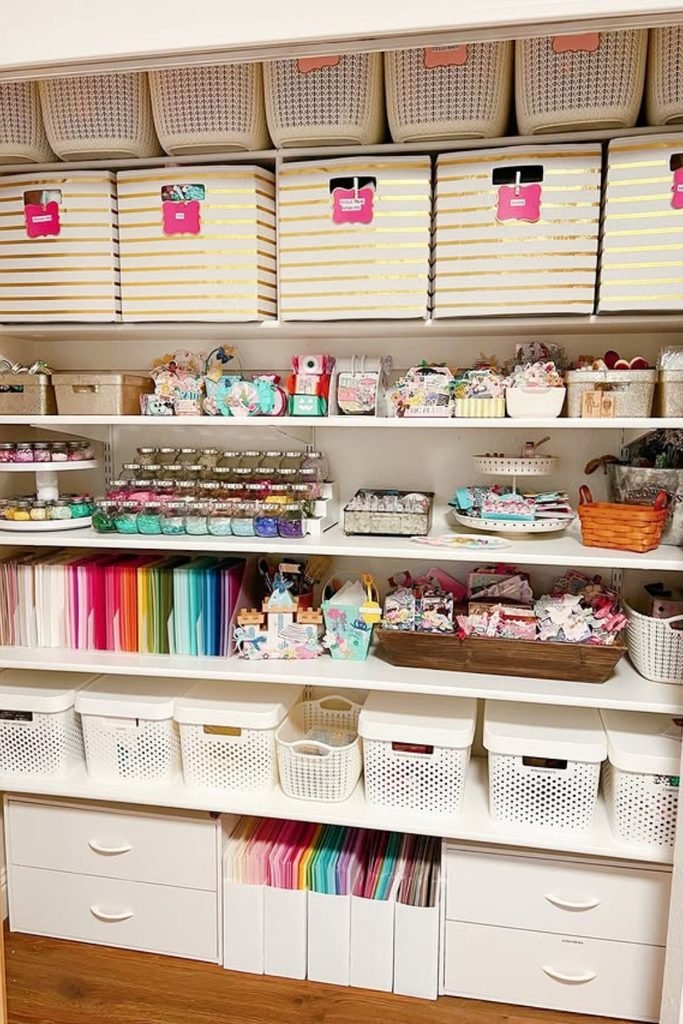
Instead of asking what category an item belongs to, first look at its physical size, shape, and how easily it becomes damaged or lost.
Choose the storage around those traits gives every supply a practical home & prevents both small-item chaos and bulky-material overflow.
1. Micro Items
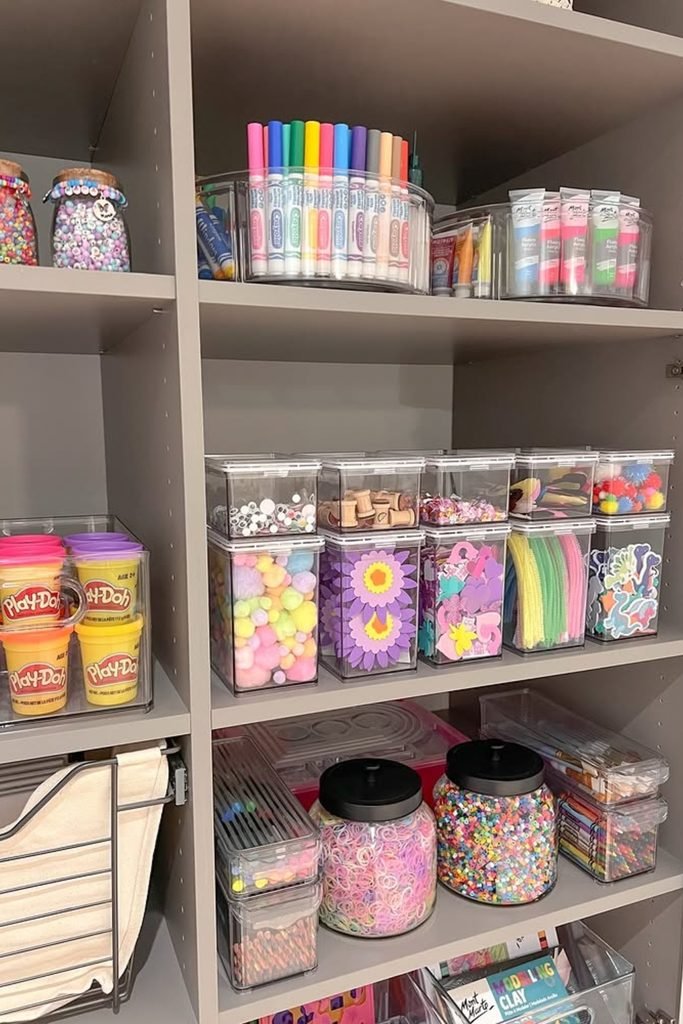
Beads, buttons, sequins, and other tiny pieces work best in compartment boxes or small clear jars with easy-to-see contents.
Separate compartments keep colors, sizes, and types from mixing together while making individual pieces much quicker to locate.
You should be able to grab one bead or button without emptying an entire bin just to find what you need.
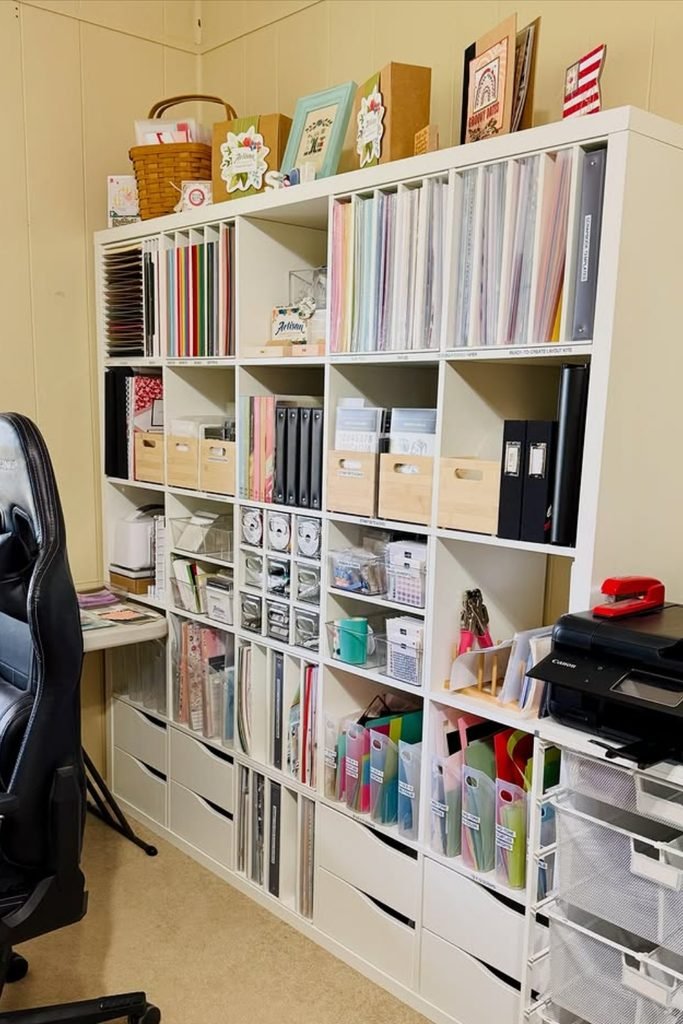
2. Mid-Size Items
Paint bottles, brushes, scissors, markers, and similar supplies fit well in caddies, shallow drawers, or divided drawer organizers.
Store frequently grabbed tools vertically when visibility matters, while flatter items can sit horizontally without becoming buried underneath larger supplies.
The goal is keeping these everyday items contained but accessible enough that you can see and return them without rearranging everything.
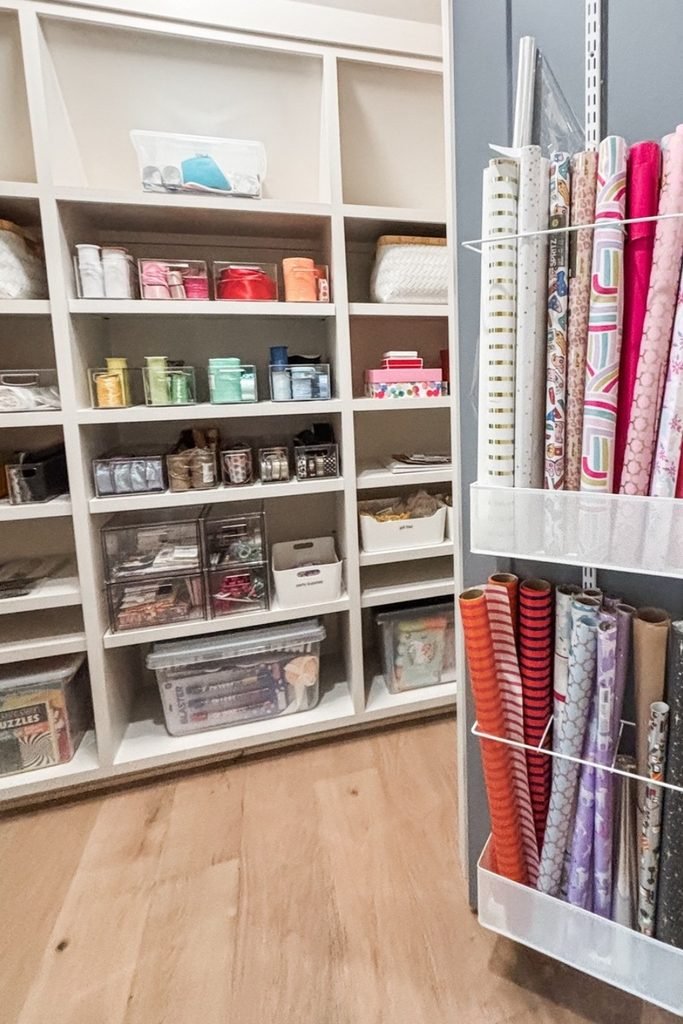
3. Bulky/Flat Items
Paper sheets, canvases, fabric pieces, cutting mats, and other broad materials need storage that protects their shape instead of forcing folds.
Flat-file drawers work well for delicate sheets, while vertical slots can separate larger paper, canvases, boards, and similar materials.
Avoid stuffing or folding these supplies into undersized bins because creases and warped edges can make otherwise usable materials difficult to reuse.
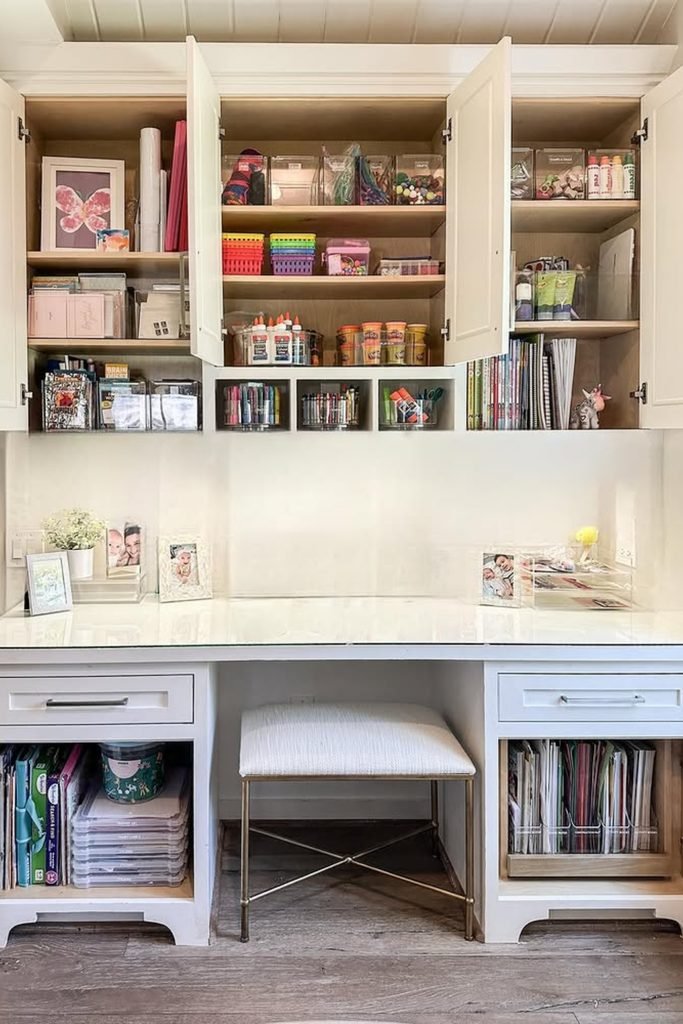
4. Irregular Items
Yarn, ribbon, cord, and wire need storage that controls their loose or rolling shapes before they turn into tangled piles.
Hooks, spool holders, dowels, or dedicated containers keep these supplies separated while allowing you to pull out only what you need.
Containing each strand or spool individually prevents tangles and makes leftover lengths easier to notice before buying another roll or skein.
Organizing By Project Type, Not Just Medium
Traditional organizing separates paint, paper, fabric, and tools, but one craft project often requires several of these mediums at the same time.
Project-based grouping keeps related supplies together around what you actually plan to make instead of separating everything simply because the materials differ.
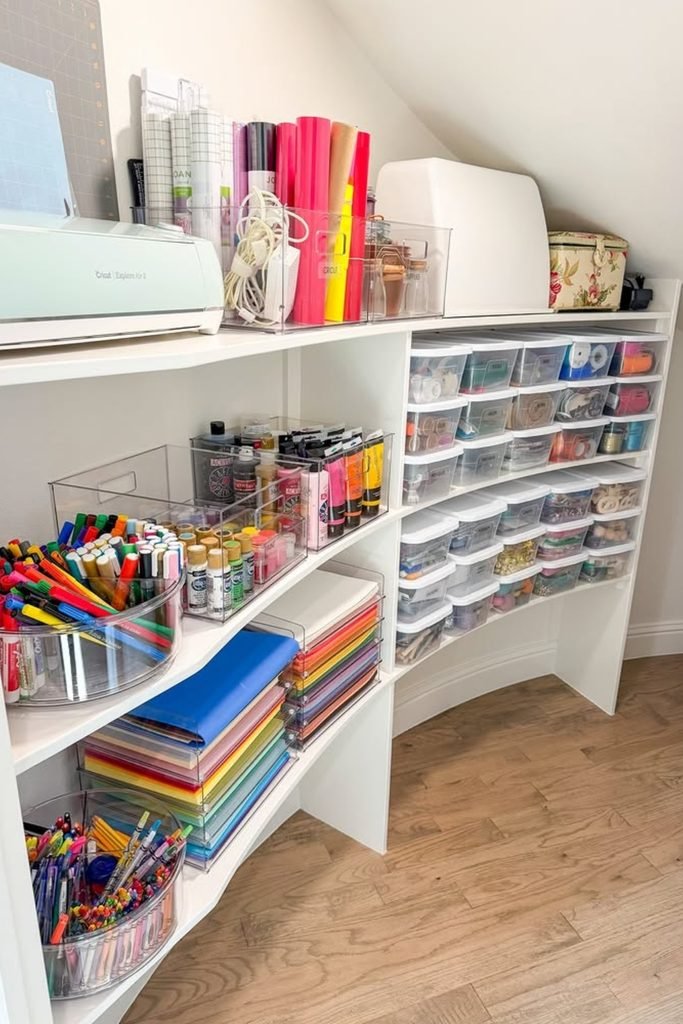
You can still keep general stock by medium, while active and upcoming projects stay grouped so their supplies remain connected to a purpose.
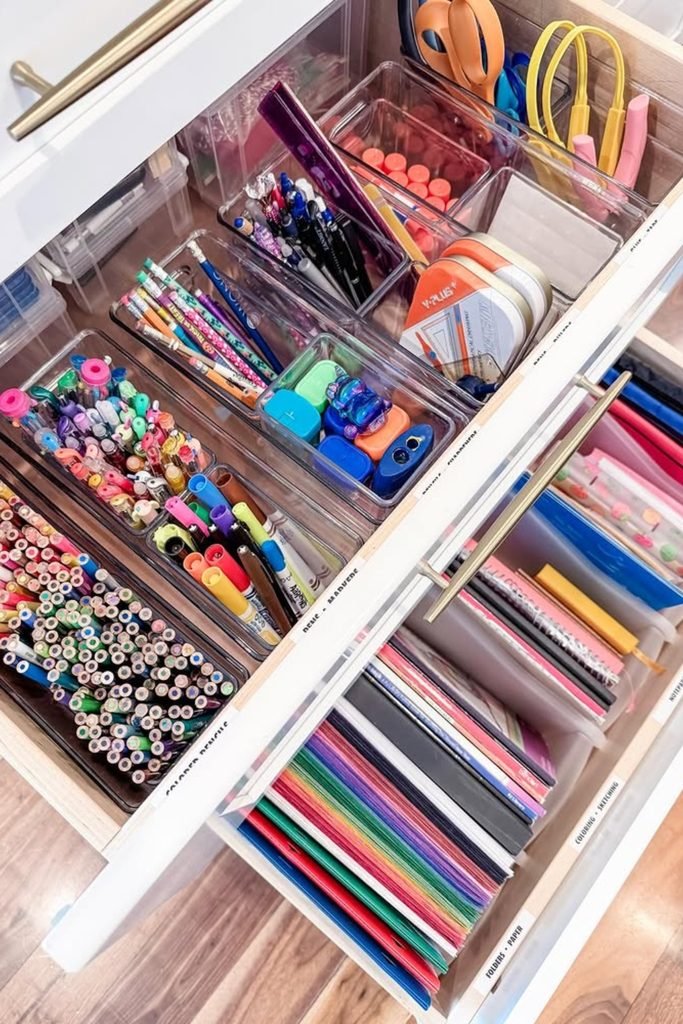
1. Active Project Bin
Keep every supply needed for your current project together in one dedicated bin, tray, basket, or portable work container.
Paint, paper, glue, fabric, tools, and other mediums can stay mixed because their shared purpose matters more than their material category.
When you are ready to work, you can pull out one container instead of searching several storage zones before getting started.
2. Ready-to-Start Kits
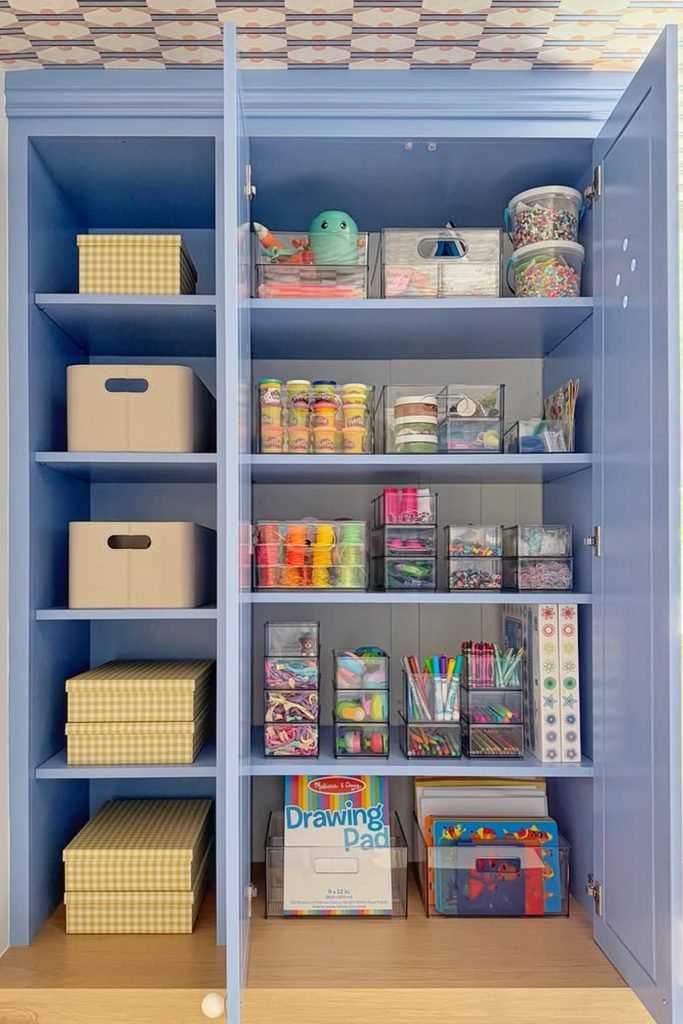
Create small kits for projects you genuinely plan to start by grouping their required materials together before they enter general storage.
Each kit can contain different mediums, along with a note, pattern, reference, or supply list that explains what the materials are for.
This removes the searching stage later and helps promising project ideas avoid becoming forgotten supplies scattered across unrelated categories.
3. General Stock Zone
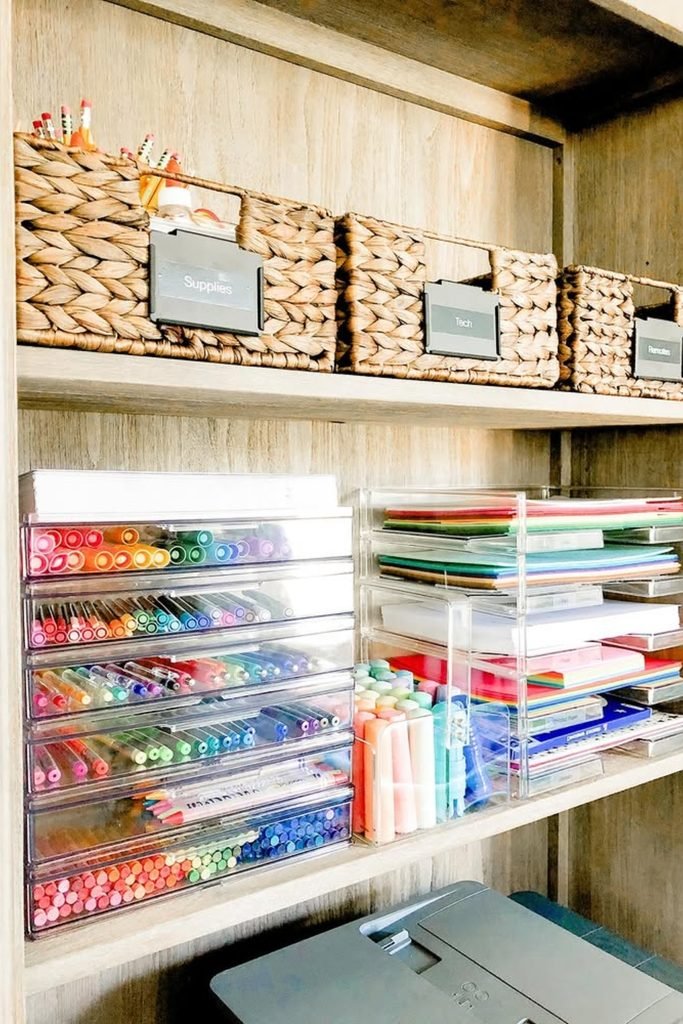
Keep bulk supplies and materials without a specific project assignment in a separate general stock area organized by familiar medium categories.
Extra paint can stay with paint, unused paper with paper, and spare fabric with fabric until something gives those materials a purpose.
This keeps your main inventory predictable without forcing active or planned project supplies to lose their connection to what you intend to make.
Set Up a Visibility System So Supplies Don’t Get Forgot
Craft supplies are much easier to use when you can quickly see what you already own without digging through several containers.
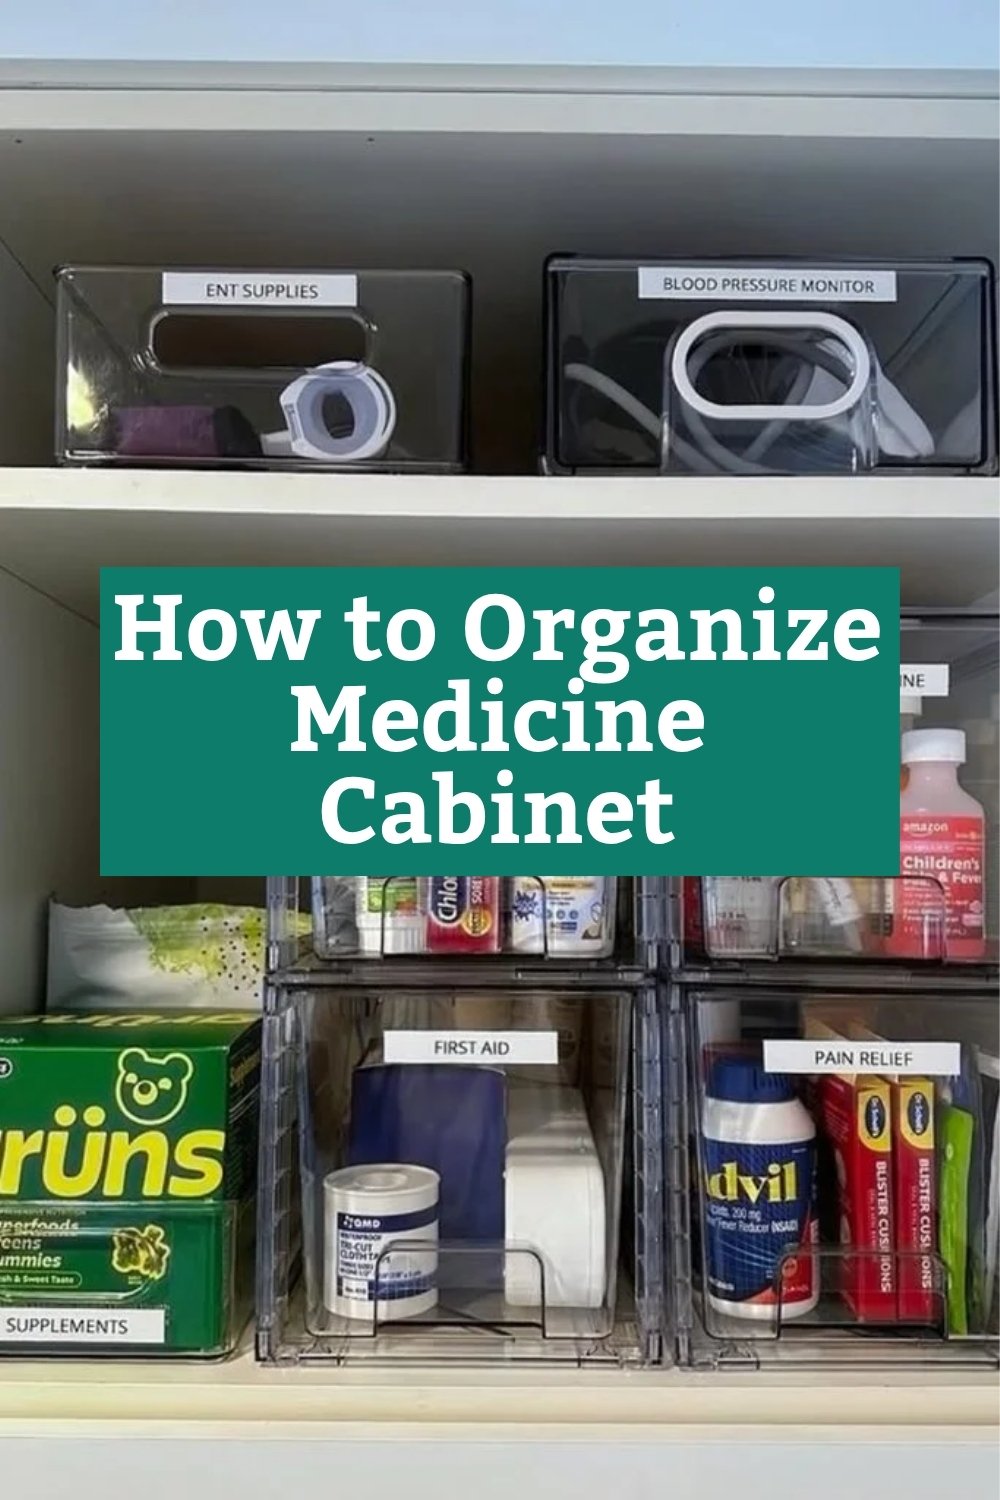
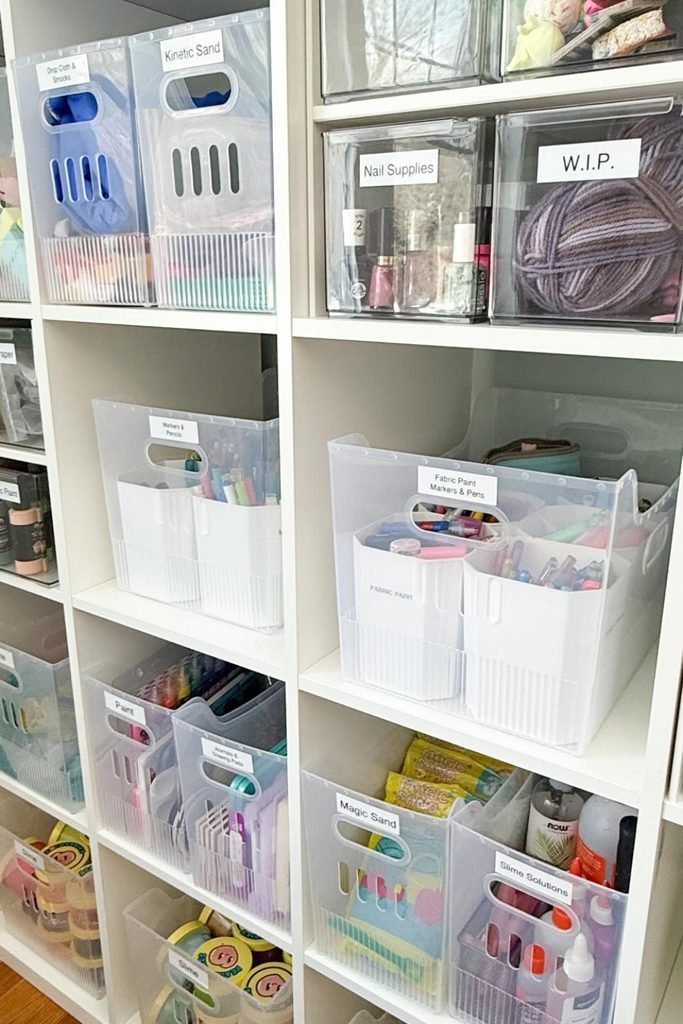
Clear bins work especially well because they keep materials contained while still showing colors, quantities, and leftover supplies at a glance.
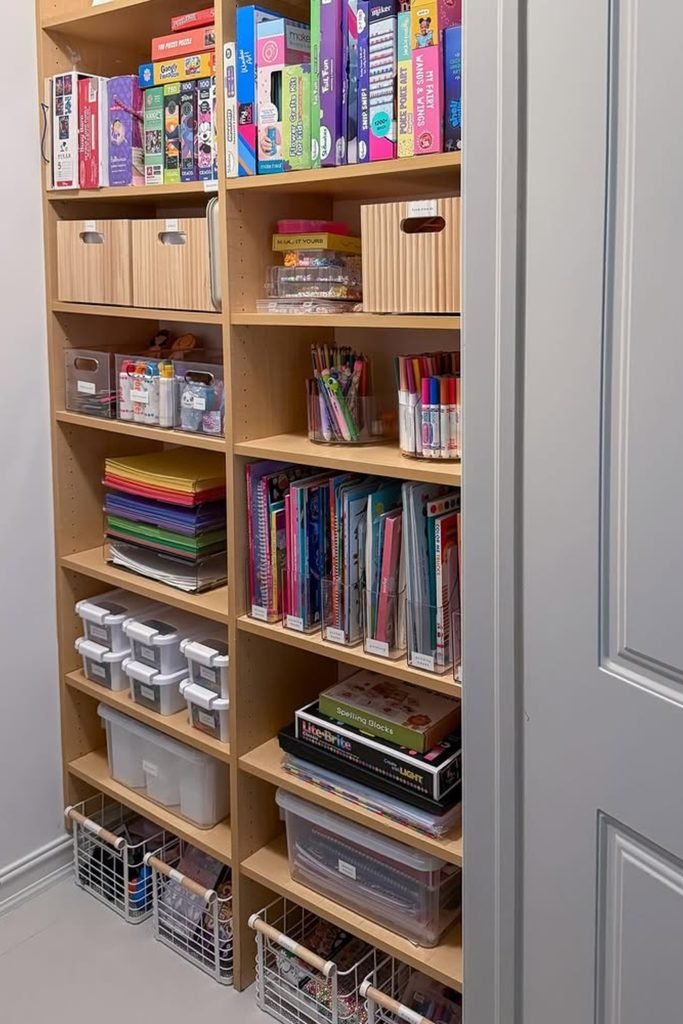
For opaque drawers or boxes, add specific labels so you know exactly what is inside without opening every container to check.
Avoid pushing rarely used supplies behind other storage, because once materials disappear from view, they are much easier to forget.
A simple rule helps here: supplies you can see usually get used, while hidden supplies are often accidentally purchased again.
Which Supplies Need Special Storage Conditions?
Some craft supplies need more than basic organization because poor storage can dry them out, damage them, or shorten their usable life.
Consider each material’s sensitivity to air, position, and temperature before deciding where and how it should be stored.
| Supply Type | Special Need | Storage Solution |
|---|---|---|
| Paints | Can dry out when lids are loose or air gets inside | Close lids tightly and store upright in a cool, dry place |
| Markers | Tips can dry unevenly depending on storage | Keep caps secure and store suitable markers horizontally |
| Adhesives | Heat can affect consistency and bottles may leak | Store upright in a cool, temperature-stable area |
| Paper/Cardstock | Moisture can cause curling, warping, or staining | Keep flat or vertically supported in a dry location |
| Fabric | Moisture and direct sunlight can damage or fade material | Store clean and dry in breathable or protected containers |
| Clay | Air exposure can harden unused material | Seal tightly in airtight bags or containers |
| Yarn/Thread | Dust, moisture, and tangling can make it difficult to use | Keep dry in closed containers or separated organizers |
Managing Tools Without Losing Them Mid-Project
Craft tools often disappear because they move between drawers, project bins, worktables, and other temporary spots while you are creating.
A better system gives permanent homes to occasional tools while keeping your most frequently used tools together and easy to move.
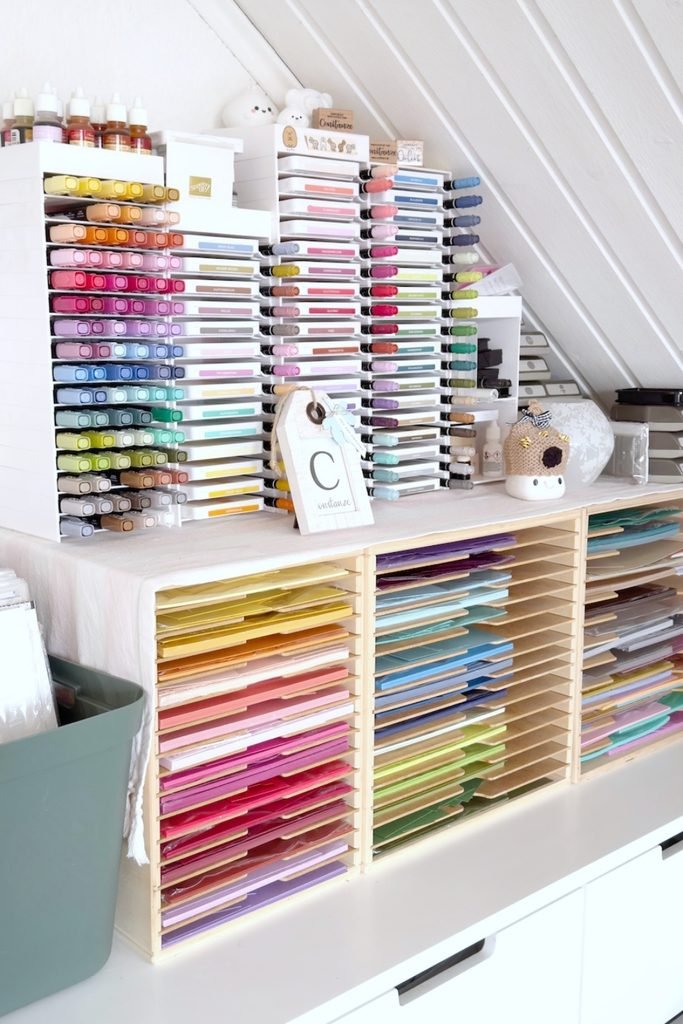
This makes grabbing tools faster during a project and gives you an obvious place to return everything when you finish.
1. Fixed-Home Tool Rule
Give every reusable tool, including scissors, cutters, rulers, and specialty tools, one permanent storage location that does not change between projects.
You can borrow that tool while working, but its original drawer, holder, peg, or compartment should always remain its home.
When the project ends, return each tool immediately so you never have to remember which project bin currently contains it.
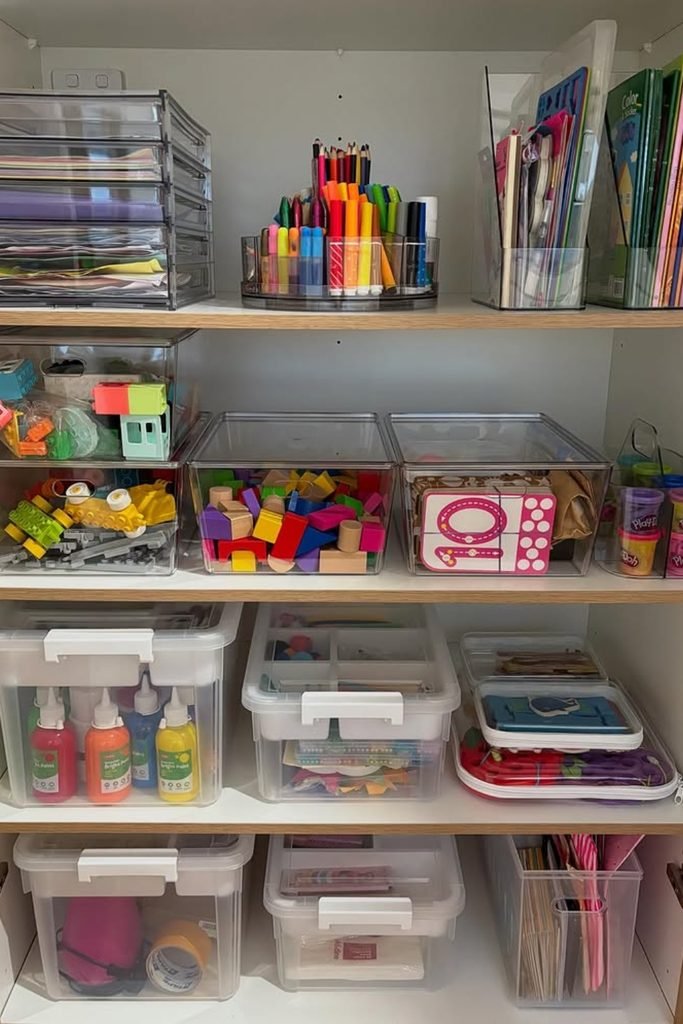
2. Portable Tool Caddy
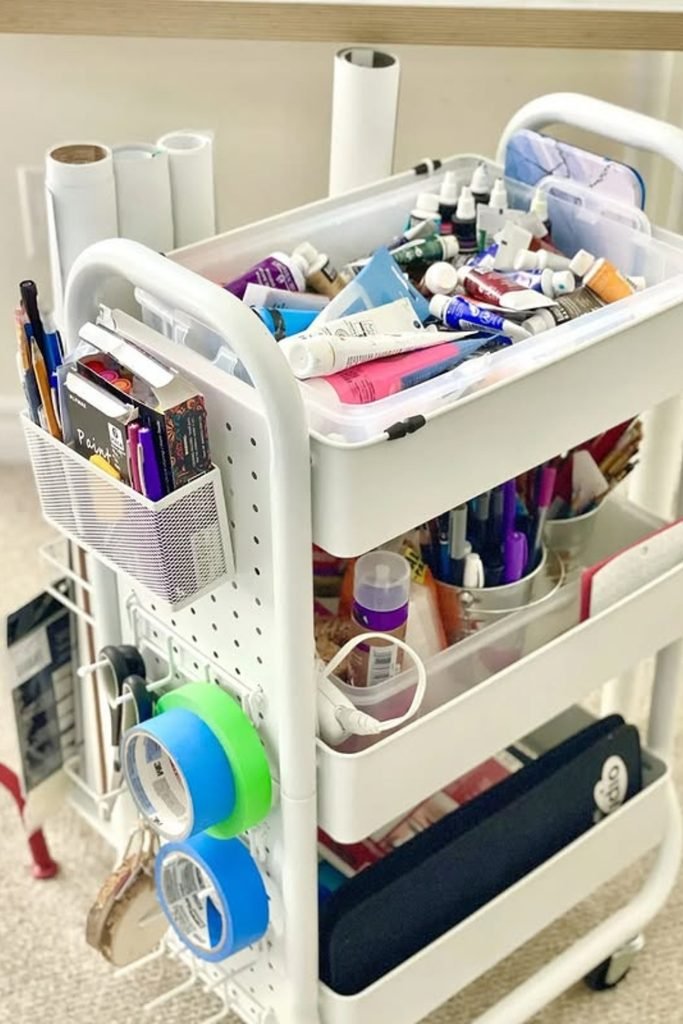
Keep the tools you reach for almost every day together in one portable caddy instead of repeatedly collecting them from different drawers.
Include frequently used scissors, pens, rulers, cutters, and similar essentials so your basic toolkit can travel directly to your worktable.
After crafting, move the whole caddy back to its storage spot rather than leaving individual tools scattered around the workspace.
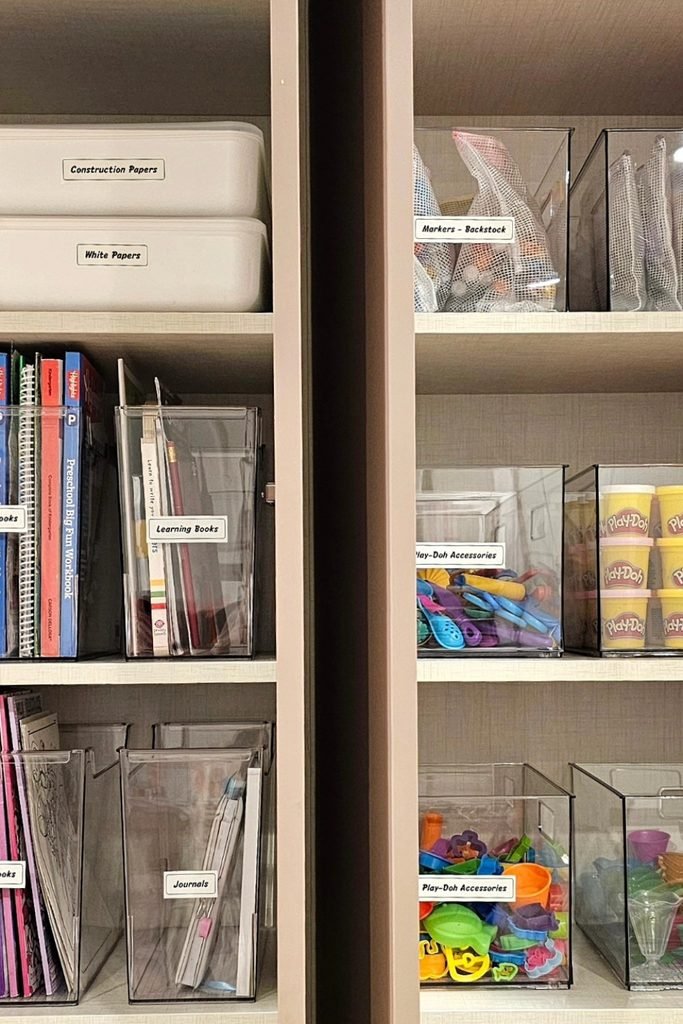
Keeping Kids’ Craft Supplies Separate From Adult/Detailed Supplies
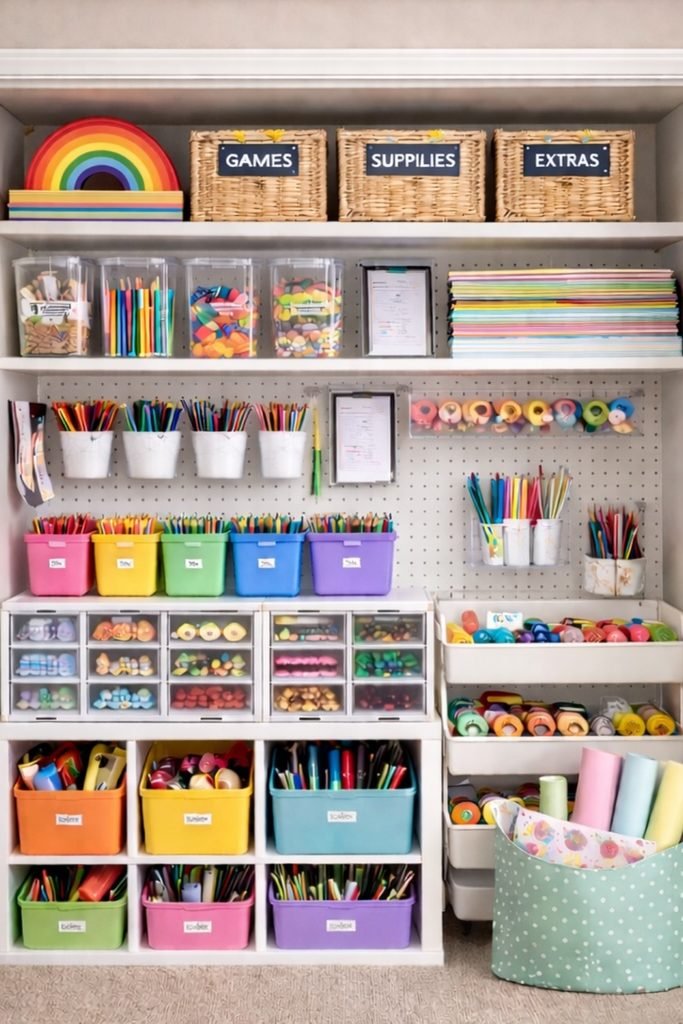
Kids’ craft materials need a separate zone so they can reach safe supplies without digging through tools or materials meant for adults.
Keeping child-friendly and precision supplies apart also makes cleanup easier because everyone knows which materials belong in each storage area.
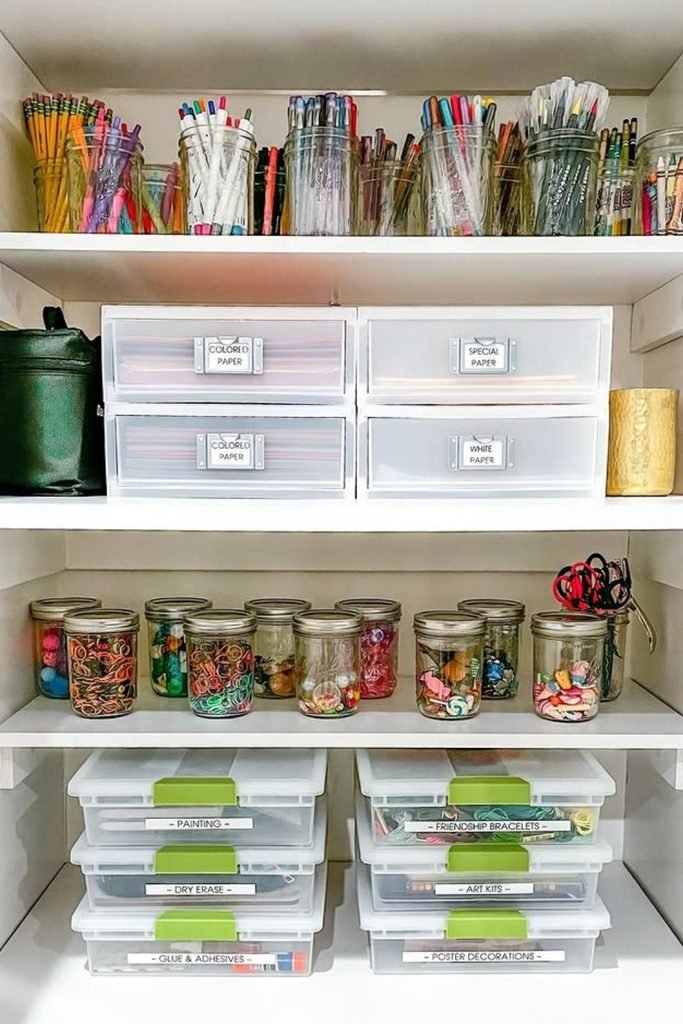
Use accessibility as the dividing rule: safe everyday supplies stay low, while sharp, delicate, expensive, or hazardous items stay higher up.
1. Low-Shelf Kid-Safe Zone
Keep crayons, washable markers, glue sticks, paper, safe scissors, and other child-friendly supplies on shelves kids can comfortably reach themselves.
Use lightweight bins or open containers so children can grab what they need without pulling down heavy boxes or complicated storage systems.
Keeping their everyday materials together also makes independent crafting and putting supplies back after each activity much easier to manage.
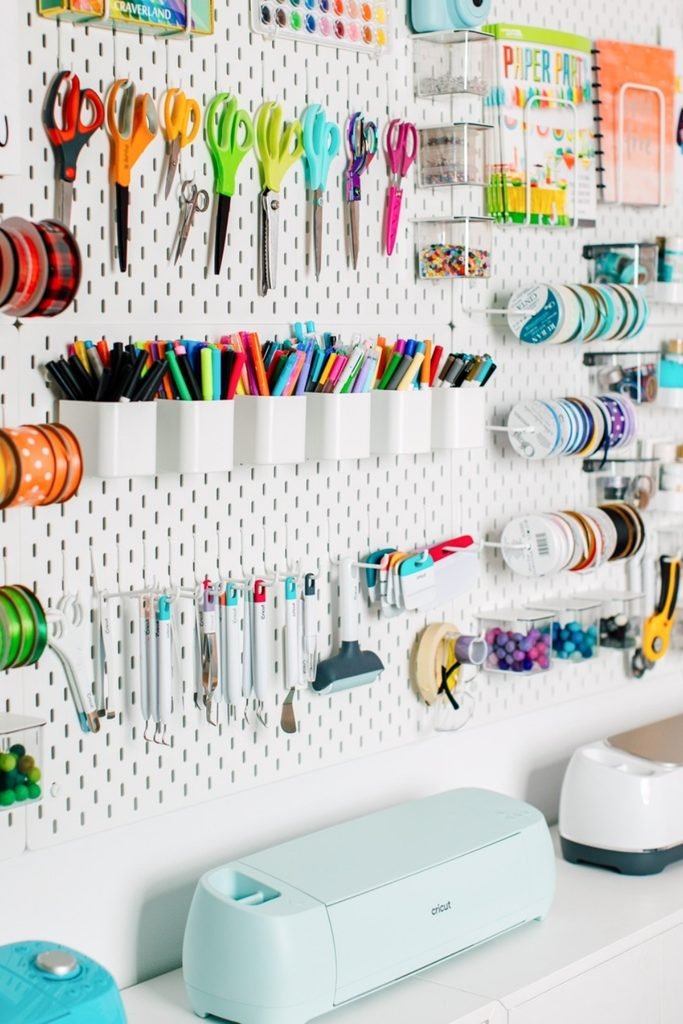
2. High-Shelf Adult/Precision Items
Store craft knives, sharp scissors, precision cutters, small choking-hazard pieces, and other unsuitable items on higher shelves away from children.
Expensive paints, specialty tools, delicate materials, and supplies requiring careful handling can also stay in this controlled adult-only storage zone.
This separation protects both children and valuable supplies while preventing precision materials from becoming mixed into everyday kids’ craft containers.
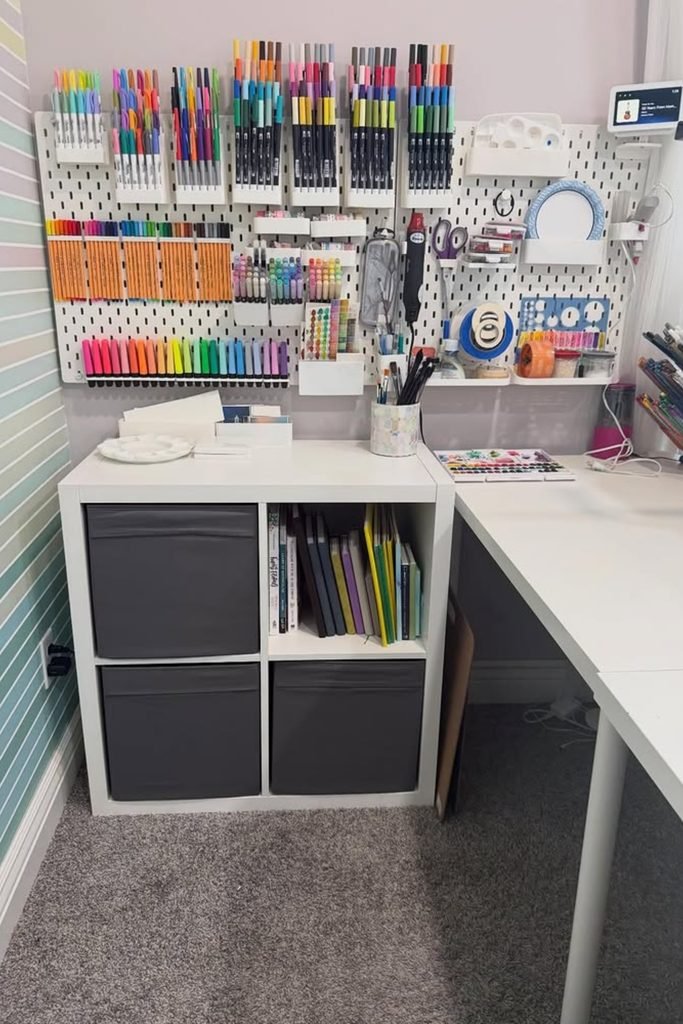
What to Do With Half-Used / Scrap Materials?
Leftover paper, fabric, ribbon, and other scraps become clutter when every small piece gets saved without any limit or storage rule.
Create one dedicated scrap container for each useful category, such as a paper scrap bin and a separate fabric scrap bin.
Keep only pieces large enough to realistically use in another project instead of automatically saving every tiny offcut or leftover fragment.
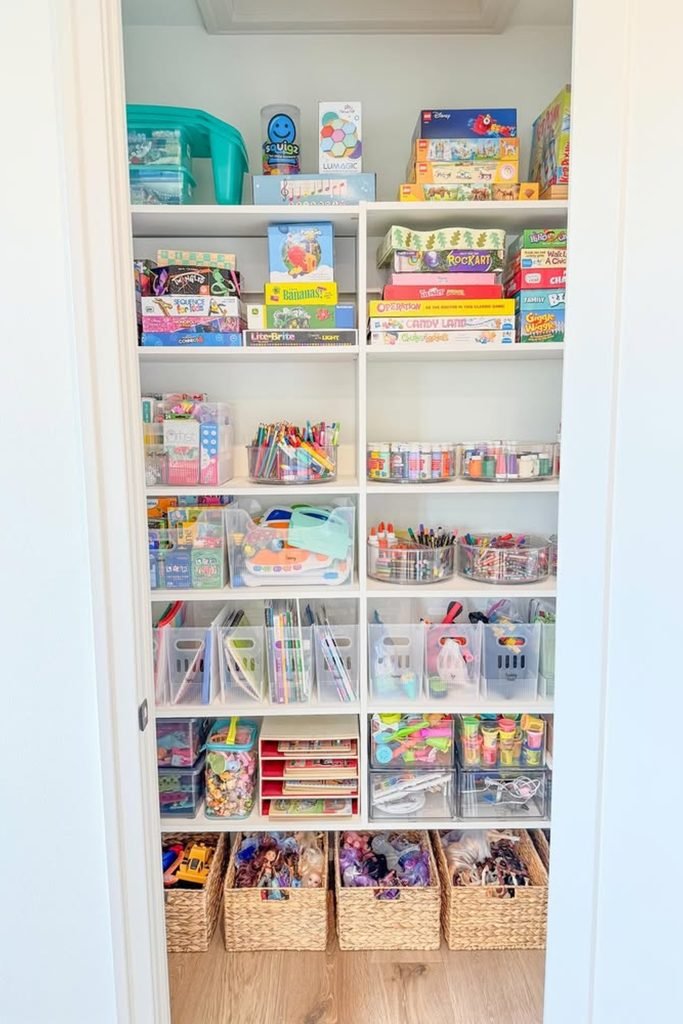
The container itself should set your limit, so scraps cannot continue expanding into drawers, shelves, bags, and unrelated project storage.
Once a scrap bin becomes full, sort through it and remove the least useful pieces before allowing any new scraps inside.
The Restock System That Prevents Duplicate Supply Buying
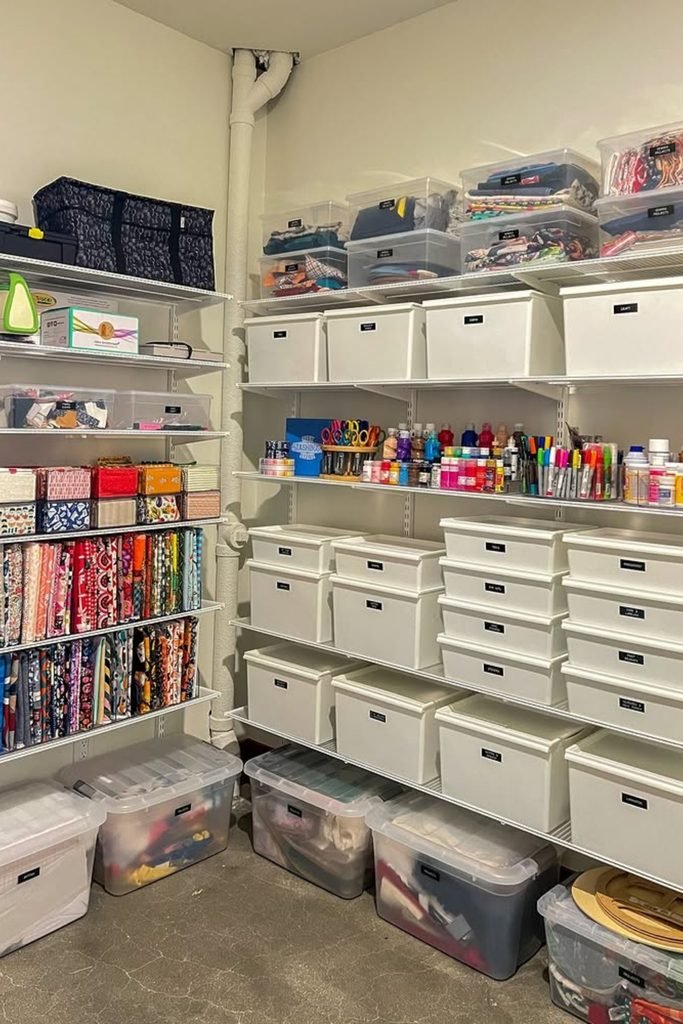
Duplicate craft supplies often get purchased because existing materials are hidden, forgotten, or never assigned a clear storage location after entering the house.
A simple restock routine makes you check what you already own before shopping and immediately organize anything new after purchasing it.
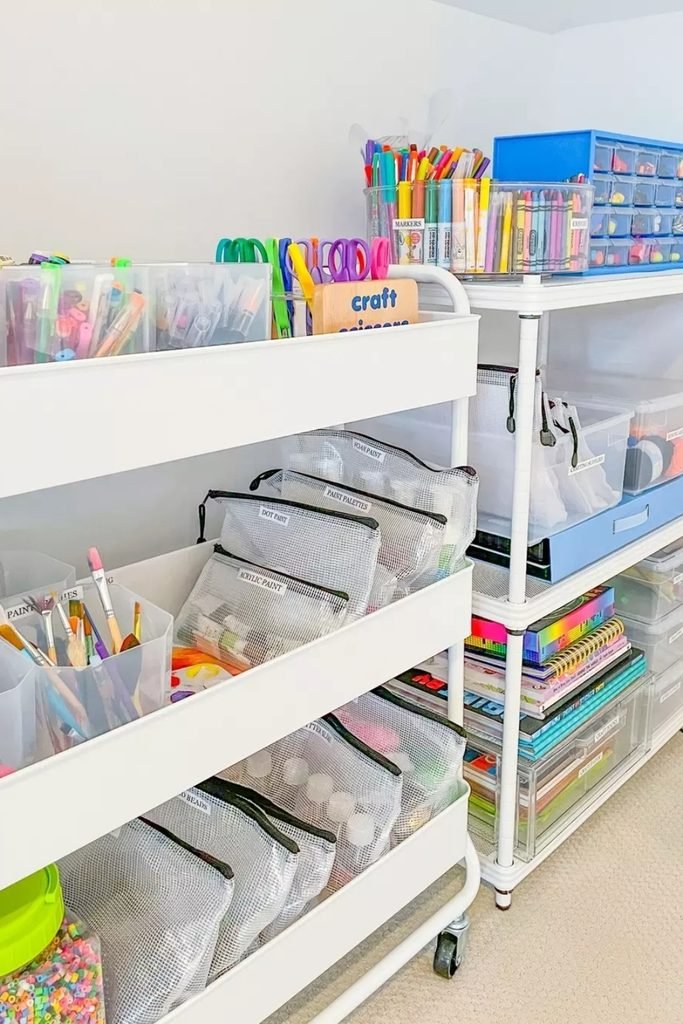
This keeps your inventory visible while preventing unopened duplicates from quietly building up across drawers, project bins, and general storage areas.
1. Check General Stock Before You Shop
Before buying paint, paper, glue, fabric, or another common material, quickly check your general stock zone for usable supplies first.
Look beyond whether you simply own the item and check quantities, colors, sizes, or versions against what your planned project actually requires.
Making this check part of every craft-shopping trip reduces duplicate purchases and helps you use existing supplies before adding more inventory.
2. Log New Supplies Into a Project or Stock Zone
As soon as new craft supplies come home, decide whether they belong to a specific project or your general stock collection.
Put project-specific materials directly into the relevant project bin, while unassigned or bulk supplies should immediately enter their proper stock zone.
Avoid leaving new purchases in temporary bags or random drawers, because “put it anywhere for now” quickly creates forgotten supplies and duplicates.
Small Craft Space / No Craft Room?
- Use a rolling cart for frequently used tools and supplies so you can move your craft station wherever you are working.
- Install a wall-mounted pegboard for scissors, rulers, tools, ribbons, and other supplies that would otherwise occupy drawers or work surfaces.
- Choose stackable clear bins for supplies you need to contain without losing visibility, especially when shelf or closet space is limited.
- Add over-door pockets for lightweight materials, small tools, adhesives, and other supplies that benefit from separated, easy-to-see compartments.
- Keep each active project inside a portable project box so everything can be stored away together without losing its project connection.
- Use a fold-away work surface when permanent table space is unavailable, then clear and close it after every crafting session.
Signs Your Craft Supply System Isn’t Working
You own several glue sticks, scissors, or duplicate supplies because you could not find the ones you already had.
You cannot begin a new project without buying something you suspect may already be hidden somewhere in your craft storage.
Supplies from finished or abandoned projects are still sitting on your table because they were never returned or reassigned.
Tiny items repeatedly disappear into large containers, while bulky materials are stacked awkwardly because neither has suitable storage.
You regularly discover forgotten supplies months later and cannot remember which project you originally purchased them for.
Cleaning your craft area means moving piles somewhere else rather than returning supplies to clear, permanent storage locations.
A 10-Minute After-Project Reset
- Return reusable tools like scissors, rulers, cutters, and brushes to their fixed homes instead of leaving them inside project containers.
- Move leftover reusable materials into either their general stock zone or another planned project where they already have a clear purpose.
- Put useful paper, fabric, or ribbon offcuts into their designated scrap bins and discard pieces that fall below your practical size limit.
- Remove empty packaging, dried materials, unusable scraps, and other waste before they become permanent clutter around your crafting area.
- Check your work surface and project container one final time so nothing remains unassigned, hidden, or waiting for a home.
How Do You Keep Craft Supplies Organized Long-Term?
Long-term craft organization works better when you follow the same simple decisions every time supplies enter or leave your workspace.
Start with Size-Sort, choosing storage according to an item’s physical size and shape instead of forcing everything into matching containers.
Next, use Project-Link to keep active and upcoming project supplies connected instead of automatically separating every material by medium.
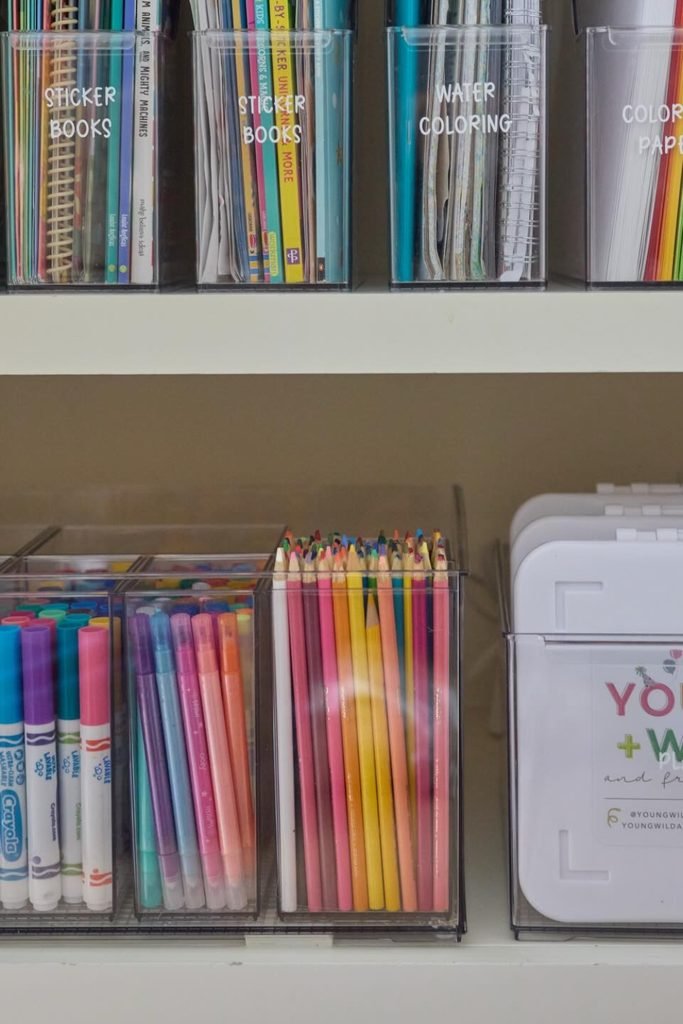
Follow with a Visibility-Check, making sure containers, labels, and placement let you quickly see or identify what you already own.
Finish every crafting session with an After-Project Reset, returning tools, reassigning leftovers, clearing scraps, and removing anything you no longer need.
Conclusion
Organizing craft supplies becomes much easier when you stop treating every material as though it needs the same kind of storage.
Let size decide how supplies are contained, while project connections decide which materials should temporarily stay together instead of being separated.
You can keep everything visible enough to remember what you own, & reset leftovers and tools whenever a project ends.
A system built around size, projects, visibility, and regular resets helps your craft space stay usable without constant reorganizing.
FAQs
How Do You Organize Small Craft Items Like Beads and Buttons?
Store beads, buttons, sequins, and other tiny supplies in compartment boxes or small clear containers rather than large mixed bins.
Separate them by useful details such as color, size, or type so you can find individual pieces without digging through everything.
Keep containers visible and clearly labeled so small supplies remain easy to notice, use, and return after each project.
How Do You Stop Buying Craft Supplies You Already Own?
Check your general stock and active project bins before every craft-shopping trip, especially for frequently duplicated items like glue, paint, and paper.
Use clear containers or specific labels so you can quickly confirm what you already own without opening multiple boxes or drawers.
When new supplies come home, immediately assign them to a project or stock zone so they never disappear into temporary storage.